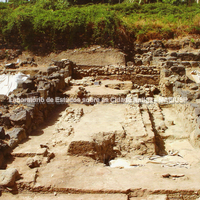
Slipway 2: remains of the central sand ramp; note that it was held in place by two small side walls of dry-laid stones. To the north (right in the photo) the sequence of these small walls holding the sand can be seen.
Full-size image restricted
Nausitoo images are intended exclusively for academic research and teaching. To view them at full size, register and accept the Terms of Use, or sign in.